Installing a metal roof can be a game-changer for your home or business, offering durability, energy efficiency, and a sleek, modern look.
Whether you’re a DIY enthusiast or planning to hire professionals, understanding the ins and outs of metal roof installation is crucial.
This guide will walk you through everything you need to know about the installation of a metal roof, making the process straightforward and user-friendly.
Benefits of Metal Roof Installation
Before diving into the installation process, let’s explore why metal roofs are a popular choice:
1.Durability:
Metal roofs can last 40-70 years, depending on the material. They are resistant to corrosion, cracking, and shrinking.
2.Energy Efficiency:
Metal roofs reflect solar radiant heat, which can reduce cooling costs by 10-25%.
3.Low Maintenance:
Metal roofs require minimal maintenance compared to traditional roofing materials.
4.Environmental Friendliness:
Metal roofs are often made from recycled materials and can be recycled at the end of their life.
Step-by-Step Guide to Metal Roof Installation
1. Planning and Preparation
Assess Your Roof Structure
Ensure your roof structure can support the weight of a metal roof.
Check for any existing damage that needs repair before installation.
Gather Materials and Tools
Metal roofing panels
Screws and fasteners
Metal flashing
Roofing underlayment
Safety gear (gloves, goggles, harness)
Measure Your Roof
Accurate measurements are crucial for purchasing the right amount of material. Measure the length, width, and slope of your roof.
2. Installation of Roof Underlayment
Clean the Roof Surface
Remove any debris, old nails, or shingles to create a clean surface for the underlayment.
Install the Underlayment
Roll out the underlayment and secure it with roofing nails or staples. Overlap the edges by about 4 inches to ensure complete coverage.
3. Installation of Roof Flashing
Install Drip Edge Flashing
Attach drip edge flashing along the eaves to direct water away from the roof and prevent leaks.
Install Valley Flashing
If your roof has valleys, install valley flashing to manage water runoff in these areas.
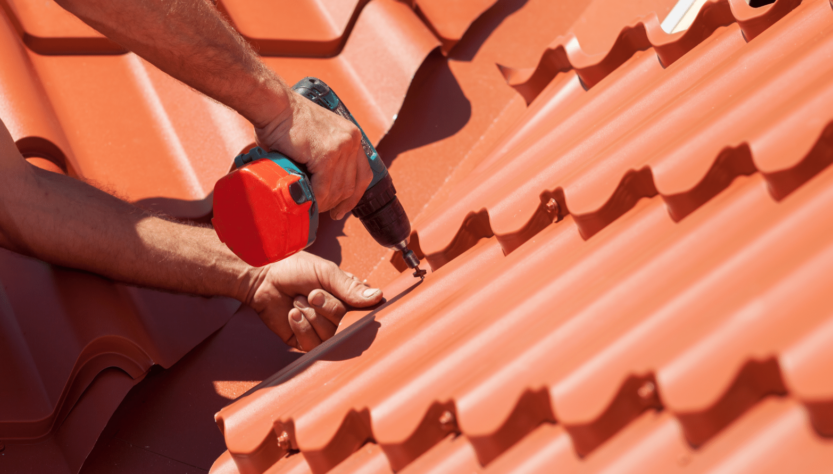
4. Metal Roof Installation
Position the First Panel
Start at the bottom edge of the roof and align the first metal panel with the edge of the roof. Ensure it’s square to the roofline.
Secure the Panel
Fasten the panel using screws with rubber washers to prevent leaks. Place screws every 12-18 inches along the panel’s ribs and edges.
Install Subsequent Panels
Overlap each panel by at least one ridge to ensure a watertight seal. Continue installing panels, working your way up and across the roof.
5. Installation of a Metal Roof Ridge Cap
Measure and Cut the Ridge Cap
Measure the length of the roof ridge and cut the ridge cap to fit.
Install the Ridge Cap
Position the ridge cap over the ridge and secure it with screws, ensuring it overlaps the top edges of the metal panels on both sides of the roof.
Tips for a Successful Metal Roof Installation
Work Safely: Always wear safety gear and use fall protection equipment when working on the roof.
Double-Check Measurements:
Accurate measurements are crucial for avoiding material waste and ensuring a proper fit.
Seal All Edges:
Use metal roofing sealant to seal edges and overlaps to prevent water infiltration.
Follow Manufacturer Guidelines: Adhere to the manufacturer’s installation instructions for your specific roofing material.
Conclusion
Metal roof installation offers numerous benefits, including durability, energy efficiency, and low maintenance.
By following this step-by-step guide, you can ensure a successful and efficient installation process.
Whether you’re tackling the project yourself or hiring professionals, understanding the essentials of metal roof installation will help you achieve the best results.
Ready to upgrade to a metal roof? Contact a professional roofing service today to get started. With their expertise and your newfound knowledge, you’ll have a beautiful, long-lasting roof that enhances the value and appeal of your property.